
How to Use a Dynamometer for Performance and Rehab
Team Meloq
Author
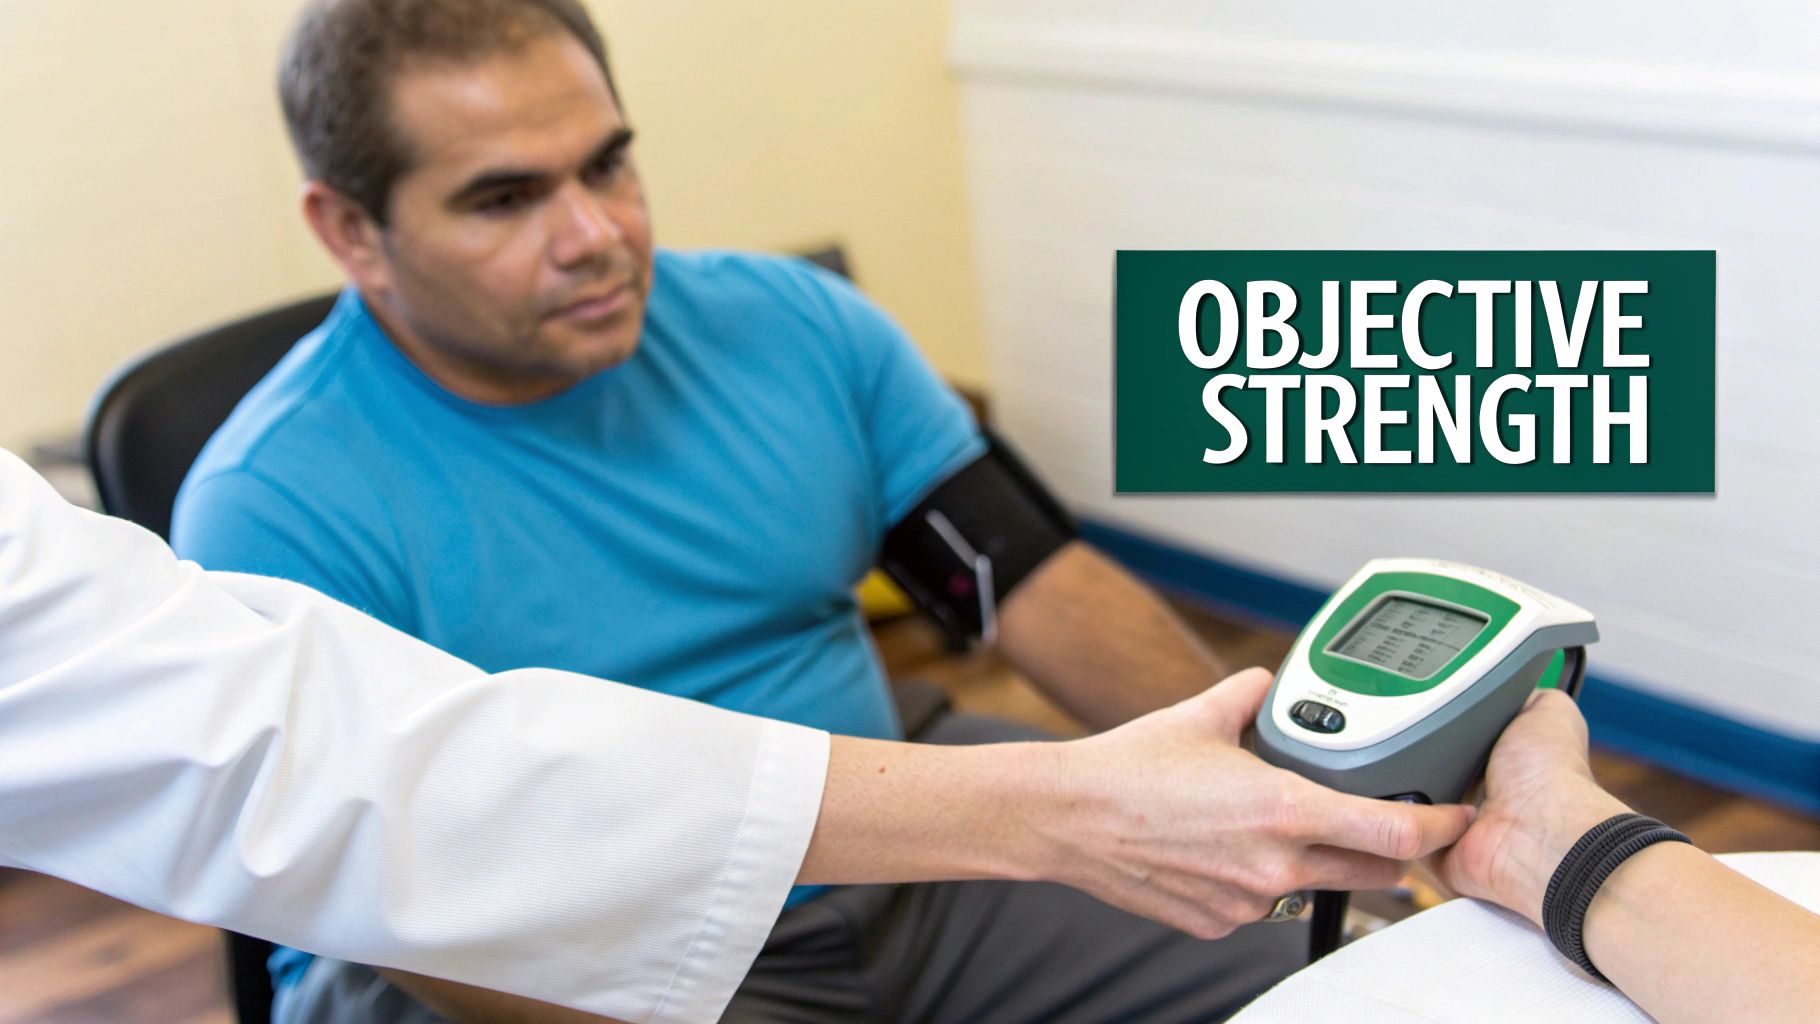
At its core, using a dynamometer is straightforward: you position your patient, place the device perpendicular to the limb you're testing, and have them push or pull with maximal effort. The magic is what happens next—the device gives you an objective measurement of their peak or average force. This simple action replaces subjective guesswork with quantifiable, repeatable data, completely changing how we track strength in both rehab and performance settings.
Moving Beyond Subjective Muscle Testing
For decades, clinicians have leaned on manual muscle testing (MMT), that familiar zero-to-five grading scale. It’s a foundational skill, but its limitations are well-documented. The gap between a grade 4 ("good") and a grade 5 ("normal") can be vast and varies significantly between testers, making it an unreliable measure for tracking anything but large changes in strength (1). This is exactly why getting comfortable with a digital dynamometer is such a huge step forward for any modern practice.
Digital dynamometers elevate our assessments from an educated guess into a science. By providing precise force readings in Newtons, pounds, or kilograms, they let us set crystal-clear baselines, demonstrate progress with undeniable numbers, and make truly informed clinical decisions. This isn't just about better rehab; it's about having the confidence to set accurate return-to-sport criteria based on objective data. As you move beyond subjective testing, applying this objective data becomes much more powerful when you also understand the principles of effective personal training programming.
The Value of Objective Data in Clinical Practice
Objective measurements are the bedrock of evidence-based practice. They give us the power to validate our interventions and show patients their progress in black and white. For patients, seeing their strength gains on a screen can be incredibly motivating and may improve adherence and engagement with their rehabilitation program.
By quantifying strength, you can spot subtle asymmetries or weaknesses that manual testing might miss. This allows for earlier, more targeted interventions—a proactive approach that's key to minimizing injury risk and optimizing recovery.
This shift to objective data isn't just happening in a few forward-thinking clinics; it's an industry-wide movement. The global medical dynamometer market was valued at around USD 547.5 million in 2023 and is expected to climb, all driven by the growing need for precise muscle evaluation.
This guide is designed to give you a practical framework for getting those objective, repeatable measurements. We’ll walk through everything from the initial setup to interpreting the data, making sure you can confidently bring this powerful tool into your daily workflow.
Setting Up Your Dynamometer for Accurate Readings
Good data starts with a good setup. The initial work is what guarantees a great result. Your first few moments with a digital dynamometer set the stage for every measurement you'll take, so getting these first steps right is non-negotiable.
When you first unbox a device, it is good practice to ensure it is fully charged. A low battery can sometimes affect electronic components, and starting with a full charge is an easy way to eliminate that variable right off the bat. It also gives you a chance to get a feel for the device and its interface.
Choosing the Right Attachment
Most dynamometers come with different attachments, and picking the right one is a crucial part of the process. This isn't just about preference; it’s about making sure the contact between the device and the patient is both comfortable and accurate.
-
Curved Pad: This is often your go-to for smaller limbs or more rounded body parts, like a forearm or lower leg. The concave shape hugs the limb, which helps distribute pressure evenly and reduces the chance of it slipping during a maximal effort.
-
Flat Pad: This is generally better for larger, flatter muscle groups. It's suitable for testing quadriceps, hamstrings, or pectorals, where the wider surface area can apply and measure force without digging into the patient.
Matching the attachment to the anatomy helps ensure the force you're measuring is a true reflection of muscle output, not just a byproduct of patient discomfort or an unstable setup.
The Most Important Step: Zeroing Your Device
Before you even think about performing a test, there's one step you absolutely cannot skip: you must zero the dynamometer. This is usually just a quick button press, but it calibrates the device to its current orientation, making sure your starting point is truly zero. If you forget this, your data will be skewed.
Gravity and the device's own weight can influence the internal load cell. Zeroing the device right before each test—after you've positioned it against the patient—wipes out this background "noise." This ensures the only force you're capturing is the force your patient is actually producing.
Imagine a kitchen scale that already reads 20 grams before you've even added any flour. Every single measurement will be off by 20 grams. It's the exact same principle here. Making a habit of zeroing the device every single time is what separates good, reliable data from questionable numbers. If you want to dive deeper into the mechanics of it, our article explaining how a dynamometer works is a fantastic resource.
By following these simple setup rules—a full charge, the right attachment, and meticulously zeroing the device before every test—you build a solid foundation of trust in your data. This diligence upfront means every number you collect is accurate, defensible, and clinically useful, letting you make confident calls for your patients and athletes.
Applying Standardized Testing Protocols
Alright, your dynamometer is set up and zeroed. You're ready to get some numbers. But simply placing it on a patient and telling them to push isn't going to cut it. If you want clinically useful data, the secret is standardization.
Think of a standardized protocol as your playbook for every single test. Following the same set of rules every time ensures your measurements are both reliable (if you test the same person tomorrow, you’ll get a similar result) and reproducible (if another clinician tests them, they’ll get a similar result). Without that consistency, you’ll never know if a change in strength is real progress or just a fluke from a variable setup.
The core of a solid protocol comes down to four things: patient positioning, rock-solid stabilization, correct dynamometer placement, and clear, consistent verbal cues.
This quick infographic covers the pre-test device setup, which you should complete before you even get the patient into position.
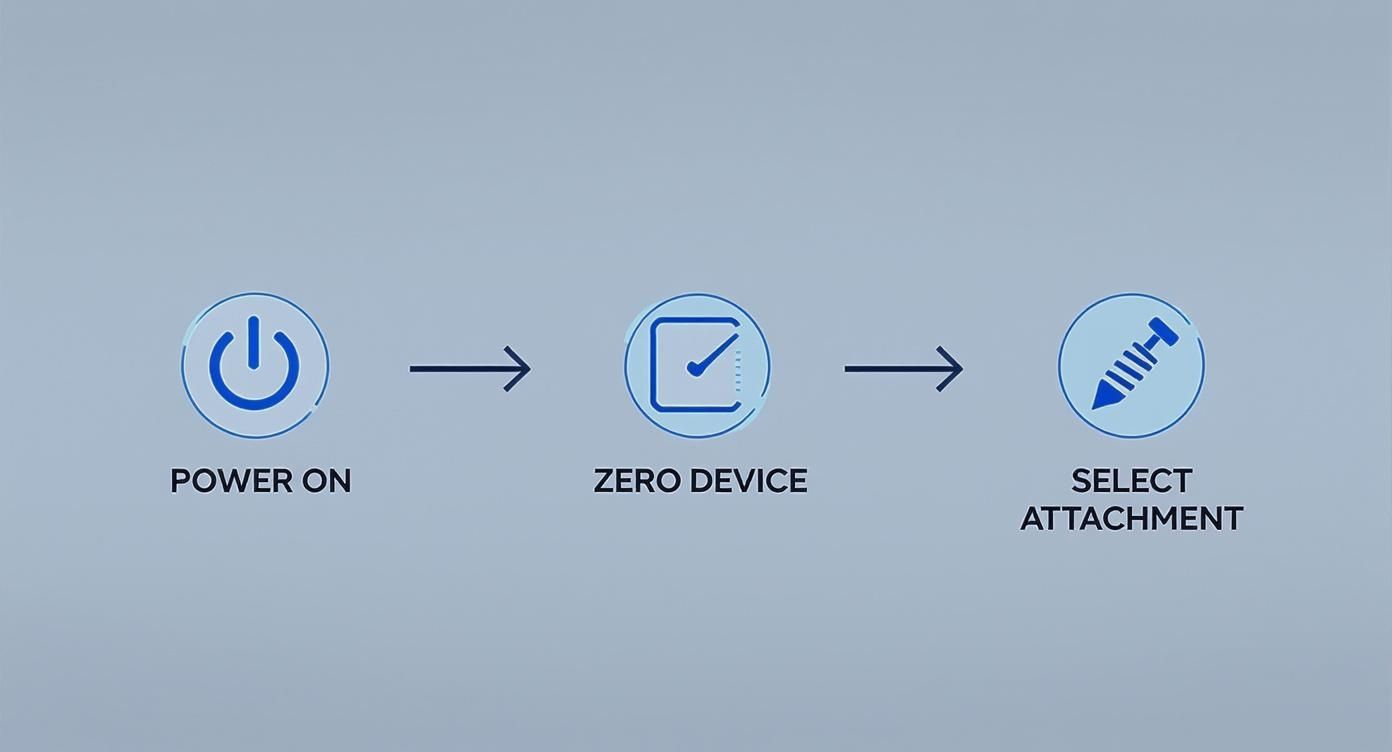
Getting this done first means you can give your full attention to the patient and the testing protocol.
Patient Positioning and Joint Angles
How and where you position your patient will make or break your test results. The goal is to isolate the muscle group you're trying to measure, putting it in a position where it can produce the most force—usually somewhere in its mid-range of motion.
Take a post-operative ACL reconstruction patient. When assessing quadriceps strength, a common protocol is to have them seated with their hip and knee bent to 90 degrees. Why that specific angle? It optimizes the quad's length-tension relationship, setting the stage for a true maximal effort (2). If you test them at 60 degrees of knee flexion instead, you'll get a totally different number, making it impossible to compare against their last session or any normative data.
It's the same story for the upper body. For shoulder abduction, you want the patient seated or standing with their arm at 90 degrees of abduction in the scapular plane (that's about 30 degrees forward from the side). This sweet spot minimizes the risk of subacromial impingement and lets the deltoid do its job without interference.
Before we dive deeper into stabilization and testing methods, it’s helpful to have a clear framework. Keeping these core principles in mind can prevent many common errors and ensure your data is trustworthy.
Key Principles for Reliable Muscle Testing
| Principle | Why It Matters | Clinical Example (Shoulder Abduction) |
|---|---|---|
| Consistent Positioning | Joint angles directly influence a muscle's ability to produce force. Small changes can create big differences in output. | Always test at 90 degrees of abduction in the scapular plane, not in the frontal plane, to isolate the deltoid effectively. |
| Robust Stabilization | The body naturally cheats by recruiting other muscles. Stabilization isolates the target muscle for a true strength reading. | Use a strap or your free hand to stabilize the patient's scapula against the chair to prevent trunk leaning. |
| Standardized Cueing | The way you cue a patient can significantly impact their effort. Consistent, clear instructions remove this variable. | Use the exact same phrase every time, e.g., "Ready... Build... Push, push, push! And relax." |
| Correct Device Placement | The placement of the dynamometer determines the lever arm, which affects the torque measurement. | Place the dynamometer on the distal forearm, just proximal to the wrist, to create a consistent and challenging lever. |
Following a mental checklist like this for every test is what separates a quick, informal check from a true, evidence-based assessment. It transforms the dynamometer from a simple gadget into a powerful clinical instrument.
The Importance of Robust Stabilization
When you ask for a maximal effort, the human body can become an expert at cheating. It will fire up any muscle it can to get the job done, a classic case of compensation. To get a clean reading of the muscle you're actually interested in, you have to stabilize everything else.
You can use your own body to stabilize, but that introduces your own movement and variability. A much better, more repeatable method is using non-elastic fixation straps.
For a hip abduction test, for example, strapping the pelvis down prevents the patient from hiking their hip or leaning their trunk. This ensures the force you measure is coming from the gluteus medius and its neighbors, not the QL and other trunk muscles trying to help out.
This isn't an optional step; it's fundamental. Whether you're stabilizing the scapula against the plinth for a rotator cuff test or strapping the thigh down for knee extension, proper stabilization is what gives you clean, accurate data you can stand behind.
'Make' vs. 'Break' Test Methodologies
When you get down to the actual test, you'll use one of two main methods: the 'make' test or the 'break' test. Your choice often boils down to clinical reasoning and what you're trying to assess.
-
'Make' Test (Isometric Contraction): You hold the dynamometer steady, and the patient pushes or pulls against it as hard as they can for a few seconds (usually 3-5 seconds). Your job is to be an immovable object. This measures their ability to voluntarily ramp up to peak force.
-
'Break' Test (Eccentric Contraction Focus): The patient holds a position, and you apply a gradually increasing force with the dynamometer until you "break" their hold. The peak force is that moment their maximal contraction is overpowered.
Some research suggests 'break' tests can produce slightly higher force values, but the most important thing is picking one method and sticking with it for a given patient and muscle group (3). If you use a 'make' test for a patient's initial assessment, you need to use a 'make' test for every follow-up. Consistency is king.
Dynamometer Placement and Cueing
Finally, let's talk about two small details that have a huge impact: where you put the device and what you say.
Always place the dynamometer on the far end of the limb segment you're testing, but just before the next joint. For a quad test, that means on the front of the lower leg, just above the ankle. This positioning maximizes the lever arm, giving you the most accurate and challenging test of the muscle's ability to produce torque.
Your verbal cues need to be just as standardized as your positioning. Phrases like, “Ready, set, push, push, push, push, push! Harder, harder! And relax,” should be delivered with the same energy and timing, every single time. This minimizes the chance that your encouragement (or lack thereof) influences the patient's effort.
When we standardize our positioning and protocols, we see incredible reliability, often with an intra-class correlation coefficient (ICC) of 0.9 or higher between trials (4).
By applying these protocols, you can learn more about dynamometry's applications in this in-depth market report and see how you can elevate your practice. You’ll be turning a simple measurement tool into a clinical powerhouse for evidence-based decisions.
Turning Raw Data into Clinical Insights
You’ve carefully followed your testing protocol and captured what looks like solid, objective data. That peak force number flashing on the screen is a great start, but on its own, it’s just a number. The real clinical magic happens when you turn that raw data into a story about your patient's progress, their limitations, and their readiness to take the next step in their recovery.

This is the core skill you develop as you learn how to use a dynamometer effectively. It’s about looking beyond a single test and putting the numbers into context. Is the patient stronger than last week? How does their injured side stack up against their uninjured side? Answering these questions is how you transform numbers into powerful, actionable insights.
Beyond Peak Force: The Limb Symmetry Index
While tracking absolute peak force over time is essential, one of the most powerful metrics you can use is the Limb Symmetry Index (LSI). The LSI is a simple but incredibly insightful calculation that compares the strength of an injured or affected limb to its healthy counterpart.
Calculating it is straightforward: just divide the peak force of the involved limb by the peak force of the uninvolved limb, then multiply by 100.
LSI (%) = (Involved Limb Peak Force / Uninvolved Limb Peak Force) x 100
For example, if an athlete's post-ACL repair right quadriceps produces 150N of force and their healthy left quadriceps hits 200N, their LSI is 75%. This single number immediately tells you there's a significant strength deficit that needs to be your primary focus.
The real beauty of the LSI is its ability to provide a clear, objective benchmark for rehabilitation. It shifts the conversation from a subjective "it feels stronger" to a concrete "you are at 75% of your baseline strength, and our goal is to get you above 90% before returning to play." This concept is a cornerstone of modern sports physiotherapy, with research suggesting that athletes returning to sport with a quadriceps LSI below 90% are at a significantly higher risk of re-injury (5).
Interpreting and Applying the LSI
The LSI is more than just a pass/fail metric at the end of rehab; it's a dynamic tool that should guide your clinical reasoning every step of the way.
-
Early Stages: A low LSI (e.g., <70%) confirms the extent of the strength deficit and justifies a focus on foundational strength-building exercises. It’s perfect for setting realistic short-term goals.
-
Mid-Stages: As the LSI improves into the 70-85% range, it’s a green light that the patient is ready for more challenging, functional, and sport-specific activities. The focus can begin to shift from isolated strength to dynamic control.
-
Late Stages: Hitting an LSI of >90% is often a key criterion for clearing an athlete for return to sport. But it is important to remember that symmetry in a controlled test doesn't automatically guarantee readiness for chaotic, unpredictable game situations. It's just one piece of a much larger puzzle.
And the LSI isn’t just for return-to-sport decisions. It’s a powerful screening tool for identifying underlying asymmetries in healthy athletes that could predispose them to injury. Spotting a 15% deficit in hip abductor strength during a pre-season screen gives you a clear opportunity for targeted intervention before a problem ever arises.
For those interested in the physics behind these measurements, our article on force calculation formulas provides a great overview.
Using Data to Drive Patient Motivation
One of the most underrated aspects of using a dynamometer is its power as a motivational tool. Patients, especially athletes, are often data-driven. They understand numbers, charts, and progress.
Instead of just telling them they're getting stronger, you can show them. Many digital dynamometers come with an app that lets you track measurements over time.
A simple line graph showing a patient's quad strength climbing from 120N to 180N over six weeks is incredibly powerful. It validates their hard work, builds their confidence in the rehab plan, and boosts their buy-in for what’s next.
This visual feedback loop turns an abstract concept ("getting stronger") into a tangible reality. It fosters a collaborative environment where the patient becomes an active participant in their recovery, not just a passive recipient of treatment. This shared understanding and visible progress can dramatically improve adherence and ultimately lead to better outcomes.
Advanced Applications and Common Mistakes
Once you've got the hang of the basics—setup, calibration, and standardized testing—it's time to explore what your dynamometer can really do. This is where we move beyond simple strength checks and into comprehensive functional evaluations. These advanced techniques give you a much deeper understanding of muscle function and athletic readiness, but they also require a sharper eye to avoid the subtle mistakes that can throw off your data.
One of the most valuable advanced applications is assessing muscle endurance. Instead of just a single, all-out effort, you can measure how a muscle group holds up against fatigue over time. This might involve repeated submaximal contractions or, more commonly, a sustained isometric hold. The goal is to quantify that drop-off in force production.
For example, a clinician might have a patient hold a contraction at 50% of their maximal voluntary isometric contraction (MVIC) for 30 seconds. The dynamometer tracks the decay in force, providing hard data on their local muscle endurance—a critical factor in both performance and preventing late-game injuries.
Refining Your Technique to Avoid Pitfalls
As you start using dynamometry more in your practice, you'll run into common pitfalls that can contaminate your data. Recognizing and correcting these is absolutely key to making sure your measurements are reliable and clinically useful.
The goal is to control as many variables as possible so that the only thing changing between tests is the patient's true physiological capacity. Every inconsistency, no matter how small, introduces noise into your data and weakens your clinical conclusions.
Let's break down the most frequent errors and, more importantly, how to fix them.
-
Inconsistent Stabilization: This is, by far, the biggest culprit. If you stabilize a patient's trunk with your hand in one session but use a fixation strap in the next, the results are useless for comparison. The body is a master of compensation, and inconsistent stabilization is an open invitation for it to cheat.
-
Variable Verbal Encouragement: Don't underestimate the power of your own voice. The tone, volume, and phrasing you use can dramatically influence a patient's effort. Shouting "Push, push, push!" during one test and offering quiet encouragement during another will absolutely produce different numbers.
-
Poor Dynamometer Placement: Placing the device even a few centimeters off along a limb changes the lever arm, which directly alters the torque measurement. It seems minor, but this tiny inconsistency can make a patient appear stronger or weaker than they actually are.
Practical Solutions for Common Errors
Fortunately, these mistakes are easy to fix with a little mindfulness and a commitment to your protocol. It all comes down to standardization.
For stabilization, always document your method. If you used a strap to secure the pelvis during a hip abduction test, make a note of it. Use the same setup every single time. For verbal cues, create a script for yourself—something simple like, "Ready... set... GO, GO, GO!"—and stick to it.
Finally, nail your placement by using anatomical landmarks. Instead of guessing, be specific: "two finger-widths proximal to the lateral malleolus." This ensures your dynamometer placement is identical, session after session.
Another advanced metric worth exploring is the Rate of Force Development (RFD). This measures how quickly an athlete can generate force, which is a game-changer for sports that rely on explosive power. While peak force tells you about absolute strength, RFD tells you about their ability to tap into that strength in an instant. You can take a deeper dive into this concept by reading our detailed guide on the importance of Rate of Force Development.
By moving beyond basic peak force tests and actively avoiding these common errors, you can transform your dynamometer from a simple measurement tool into a sophisticated diagnostic instrument—one that's capable of guiding high-level clinical decisions in both rehab and performance.
Got Questions About Using a Dynamometer? We've Got Answers.
As clinicians, we're always looking for ways to get more objective with our assessments. But bringing a new tool like a digital dynamometer into the clinic naturally comes with a few questions. Getting the little details right from the start is what separates noisy, unreliable data from clinically meaningful insights.
Let's walk through some of the most common questions to help you fine-tune your technique and get the most out of your device.
How Often Should I Calibrate My Digital Dynamometer?
Most manufacturers will recommend sending your device in for a factory calibration once a year to keep the internal load cell accurate. That's good practice. But the most important calibration for day-to-day accuracy is much simpler and faster.
You absolutely must zero the device before every single test.
Think of it this way: failing to zero the dynamometer before placing it against the patient is like trying to weigh something without zeroing the scale first. It's a quick, one-button press that accounts for gravity and the device's orientation. Skipping this step invalidates your results before you even begin and makes any test-retest comparisons useless.
What's the Difference Between a Make Test and a Break Test?
These are the two fundamental ways to conduct an isometric strength test. The key isn't which one is "better," but which one you can perform most consistently.
- Make Test: You hold the dynamometer perfectly still, creating an immovable object. The patient then ramps up to their maximal force against it.
- Break Test: The patient holds a maximal contraction to keep their limb in a set position. You then apply a gradual force with the dynamometer until you "break" their hold.
Some research suggests 'break' tests might produce slightly higher peak force numbers (3). The real takeaway, though, is to pick one method for a specific muscle group on a patient and stick with it. Consistency is everything when you're trying to track real, meaningful progress over time.
Are Straps Better Than Manual Stabilization?
In most cases, yes. Whenever you can, use a non-elastic fixation strap instead of just your hands or body to stabilize. Straps can provide a far more objective, consistent, and repeatable testing setup.
Sure, manual stabilization is sometimes the only option, but it introduces a ton of variability. How hard were you pushing? Was your angle the same as last time? A strap takes much of that guesswork out of the equation.
By locking down the trunk or an adjacent limb, a strap does a much better job of isolating the muscle you actually want to test. It minimizes the little cheats and compensatory movements patients instinctively use when they're giving a maximal effort.
The result is cleaner, more accurate data—the kind you can actually trust to guide your clinical decisions and show your patients their progress in black and white.
At Meloq, we believe that objective data is the foundation of modern practice. Our EasyForce digital dynamometer is built to give you the accurate, repeatable measurements you need to elevate patient care. See how Meloq can sharpen your clinical assessments today.
References
- Cuthbert SC, Goodheart GJ. On the reliability and validity of manual muscle testing: a literature review. Chiropr Osteopat. 2007;15:4.
- Maffiuletti NA, Aagaard P, Blazevich AJ, Folland J, Tillin N, Duchateau J. Rate of force development: physiological and methodological considerations. Eur J Appl Physiol. 2016;116(6):1091-1116.
- Lu TW, Hsu HC, Chang LY, Chen HL. Enhancing the Wearability of a Myoelectric-Controlled Prosthetic Hand with an Electromyography-Based Force-Varied Model: A Feasibility Study. Sensors (Basel). 2016;16(8):1299.
- Stark T, Walker B, Phillips JK, Fejer R, Beck R. Hand-held dynamometry correlation with the gold standard isokinetic dynamometry: a systematic review. PM R. 2011;3(5):472-9.
- Grindem H, Snyder-Mackler L, Moksnes H, Engebretsen L, Risberg MA. Simple decision rules can reduce reinjury risk by 84% after ACL reconstruction: the Delaware-Oslo ACL cohort study. Br J Sports Med. 2016;50(13):804-8.

Featured Product
EasyForce Digital Dynamometer
Handheld muscle strength testing with 99% accuracy. Used in 40+ peer-reviewed studies.
Learn More